Engineered Wood Flooring Technical Specifications
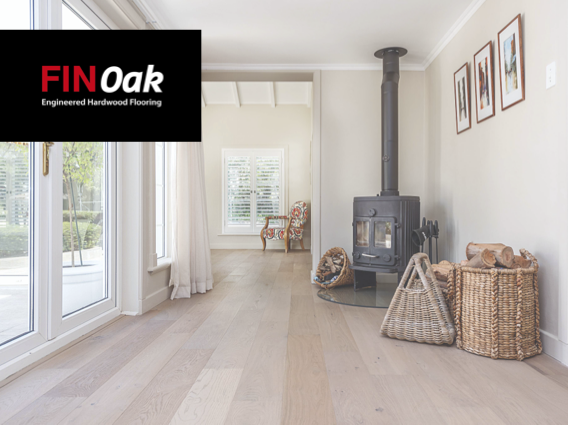
FinOak Prefinished
Factory stained wood floors are pre-stained perfectly with well-known name brands such as Loba, Klump and American Wood Oil.
FinOak Herringbone 14/3mm 3-ply Specifications
FinOak 15/4 Rustic 3-ply Specifications
FinOak 15/4 Pre-finished Technical Specifications
FinOak 14/3 190 Pre-finished Technical Specifications
FinOak 14/3 260 Pre-finished Technical Specifications
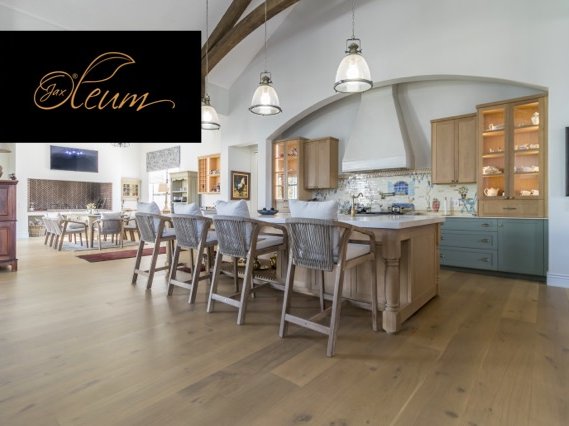
FinOak Oleum Prefinished
Proudly South African, locally factory finished. Oleum pre-finished floors all come with a colour stain and Jax 2K sealer. Durable, naturally beautiful and sustainable and resilient.
Vinyl Flooring Technical Specifications
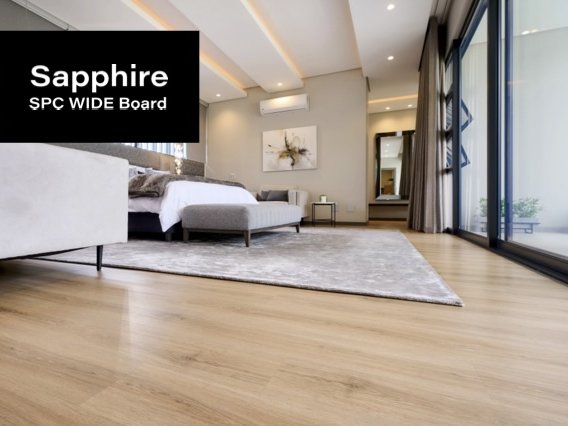
Sapphire SPC Wide Board
Upgrade to our larger, more impactful Sapphire SPC Wide Board Flooring. Featuring a robust stone-plastic composite core made of limestone and stabilisers, this water-resistant, easy-to-install flooring offers a realistic wood look with low maintenance. It’s perfect for high-traffic residential and commercial spaces, balancing style and durability.
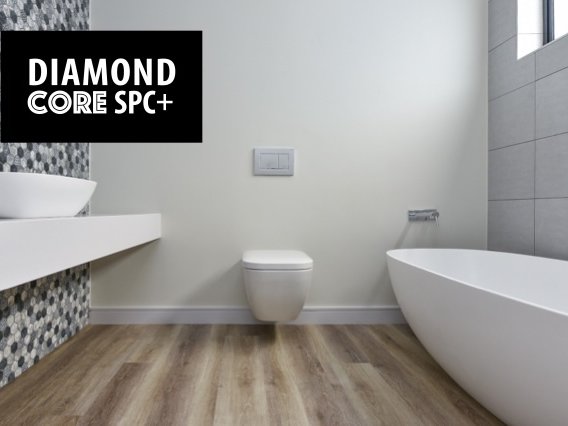
Diamond Core SPC Plus
Now available in vibrant new colours and featuring enhanced performance. The calcium-carbonate stone dust core in our SPC Rigid Vinyl flooring outperforms traditional luxury vinyl tiles with 50% better physical performance and four times greater dimensional stability. It withstands temperatures up to 60°C, making it a durable choice for modern interiors.
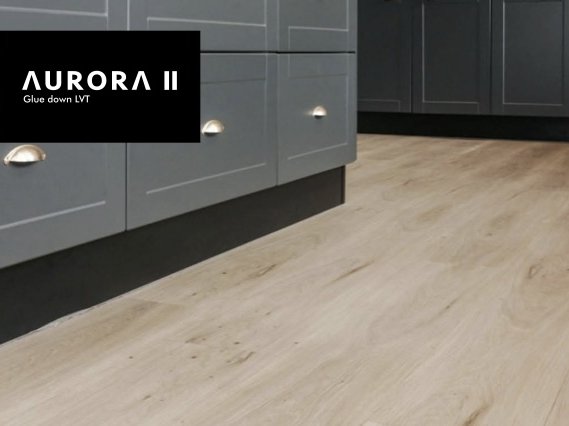
Aurora II Glue Down
The improved Aurora ll in now being launched, with improvements in vinyl manufacturing technology we now bring to the market Aurora ll, a dry back / glue down vinyl floor that is Assure certified and tested to the highest European standards.
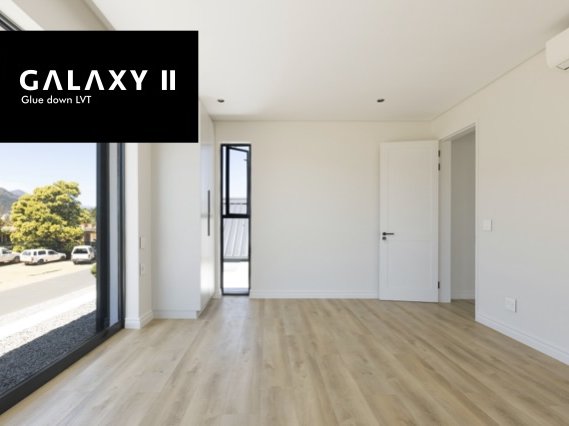
Galaxy II Glue Down
Reengineered Galaxy II glue down LVT (Luxury vinyl tile). Galaxy II LVT is the ideal solution for the toughest commercial environments such as hotels, retail stores, shopping centres, hospitals and retirement villages. This durable and cost-effective product comes with a lifetime residential and 10 year commercial warranty.
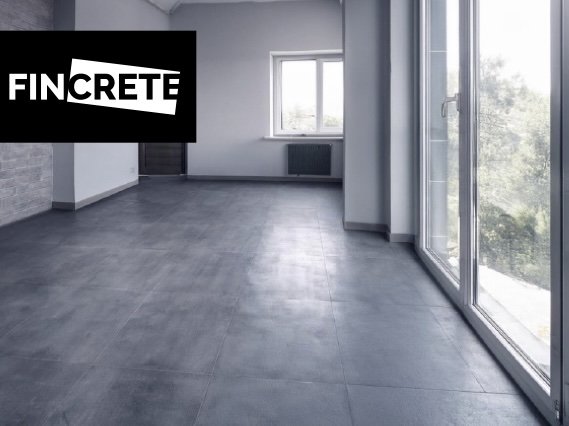
FINcrete Glue Down
Introducing FINcrete, our modern glue-down vinyl flooring with a sleek cementitious finish. Available in three distinct grey tones, FINcrete combines industrial style with the comfort and low-maintenance benefits of vinyl. Durable and easy to install, it’s an excellent choice for contemporary residential and commercial interiors.
Laminate Flooring Technical Specifications

AGT Bella Neo
Bella Neo has been re-engineered with a VIVA surface treatment and new plank size. Lauded as a budget-friendly innovation for homeowners that love the look of wood laminate floors.

AGT Natura Line
New AGT Turkish laminate flooring from leading building material manufacturer AGT.
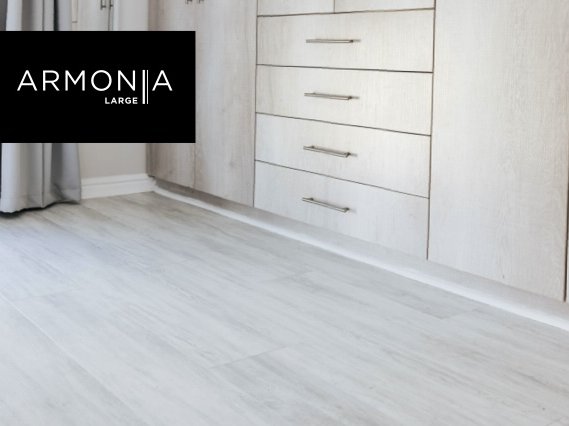
AGT Armonia Large
Elevate your space with the perfect harmony of style and resilience. Experience the grandeur of Armonia Large, where beauty meets strength.
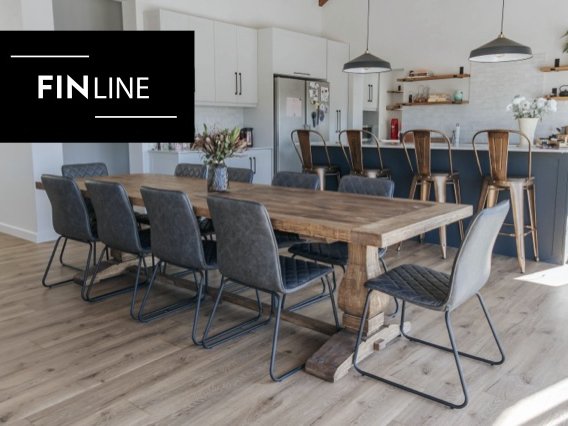
FINline
Built with high-density fibreboard (HDF) and featuring a wax-impregnated core and waxed locking edges, FINline floors offer exceptional water resistance with one of South Africa's lowest swell rates. They include an anti-abrasive protective overlay for superior scratch, chip, and dent resistance, along with a balancing film for enhanced dimensional stability.
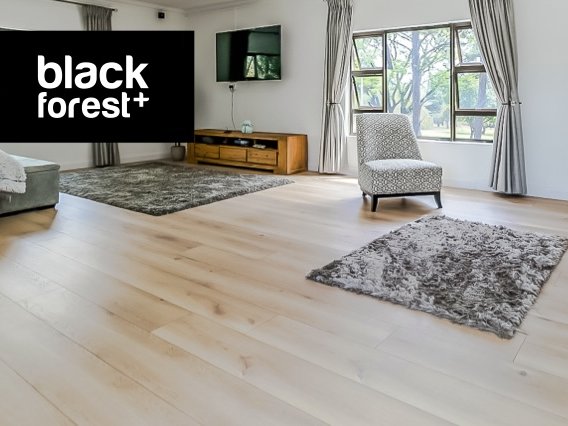
Black Forest +
Experience the Black Forest+ Laminate Floor — the thickest, widest, and longest laminate flooring available. With an AC5 durability rating, a water-resistant core, and a 12mm thickness for quieter steps, it's ideal for high-traffic and commercial spaces. Offering the elegance of wood and the resilience of laminate, this range comes in stunning colours and finishes to transform any interior.
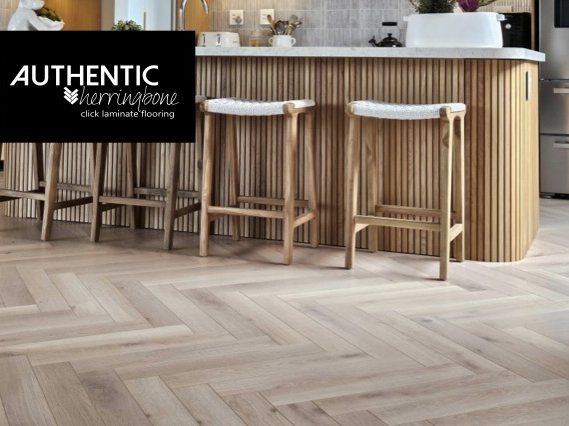
Authentic Herringbone
The design appeal of a herringbone in a durable and anti-allergenic properties of laminate. Authentic herringbone our designer laminate range comes in a thick 12mm plank that is quieter to walk on and can be installed in a variety of designers / patterns.
Inovar Floor Pretoria
| Mon | Closed |
| Tue | Closed |
| Wed | Closed |
| Thu | Closed |
| Fri | Closed |
| Sat | Closed |
| Sun | Closed |
Inovar Floor Centurion
| Mon | Closed |
| Tue | Closed |
| Wed | Closed |
| Thu | Closed |
| Fri | Closed |
| Sat | Closed |
| Sun | Closed |
Inovar Floor Garden Route
| Mon | Closed |
| Tue | Closed |
| Wed | Closed |
| Thu | Closed |
| Fri | Closed |
| Sat | Closed |
| Sun | Closed |
Inovar Floor Sandton
| Mon | Closed |
| Tue | Closed |
| Wed | Closed |
| Thu | Closed |
| Fri | Closed |
| Sat | Closed |
| Sun | Closed |
Inovar Floor Cape Town
| Mon | Closed |
| Tue | Closed |
| Wed | Closed |
| Thu | Closed |
| Fri | Closed |
| Sat | Closed |
| Sun | Closed |
Inovar Floor KZN
| Mon | Closed |
| Tue | Closed |
| Wed | Closed |
| Thu | Closed |
| Fri | Closed |
| Sat | Closed |
| Sun | Closed |
